The Basement Finishing Process: Step‑By‑Step With Timeline

A successful basement finish follows seven phases in a set order: discovery, design, permits, pre‑construction, build, finishes, and handover. Each phase has clear deliverables and inspection checkpoints so the job doesn’t stall. The sections below break down what happens when, how long it typically takes in the GTA, and the cost and permit factors that shift the calendar. For context, Toronto requires building permits for most construction and major renovations, and plans are reviewed for Ontario Building Code and zoning before work starts.
Prefer an end‑to‑end team? Review our Basement Renovation Services for scope, timelines, and our transparent pricing model.
What To Expect: A Clear, Seven‑Phase Basement Process
A predictable sequence keeps decisions, permits, and inspections in the right order so crews work once and inspections pass cleanly. The goal is simple: no guesswork, no idle days, and no rework because something was covered before it was inspected. Think of this as your roadmap from ideas to a finished, comfortable space.
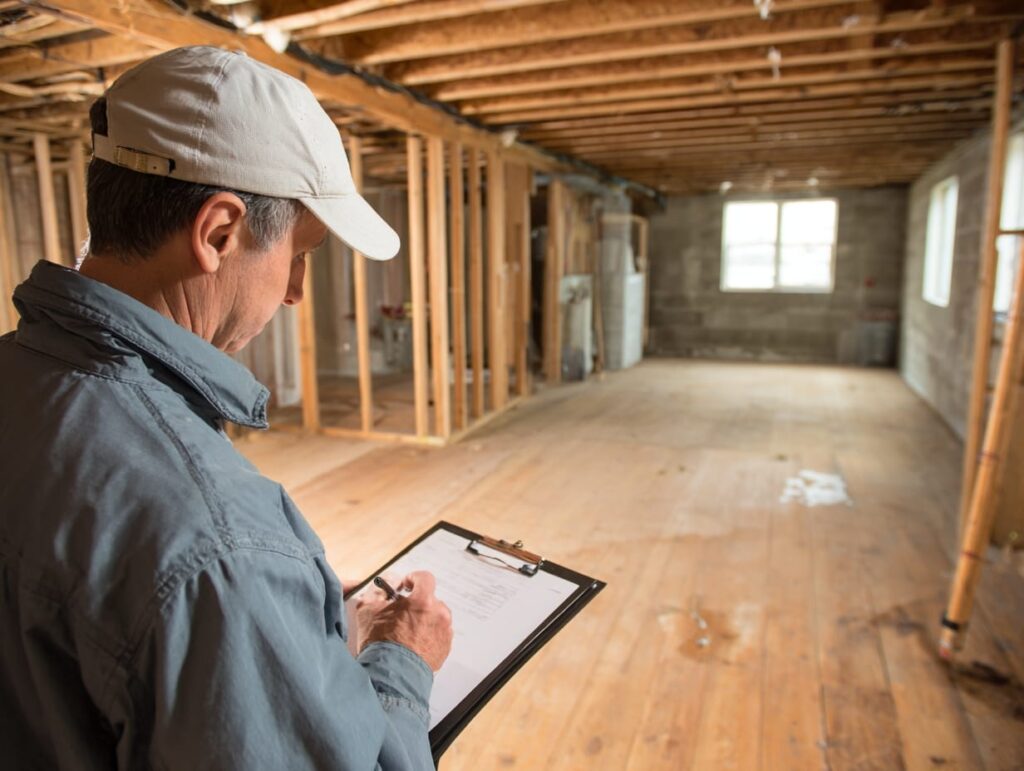
Phase 1 – Discovery And Goals
We begin with a candid assessment of the space. That includes headroom checks, moisture history, and the feasibility of egress or a separate entrance if bedrooms are planned. Together we define must‑haves vs. nice‑to‑haves, target budget, and timeline. These choices frame the design and determine where we may need trade‑offs to protect comfort and code.
Discovery is also when we flag constraints that can derail schedules if they surface later: electrical panel capacity, drainage quirks, or structural limits. By naming those early, we keep the rest of the project realistic. A tight brief here saves time, money, and friction downstream.
Phase 2 – Design And Selections
Design sets the build up for success. Layout, lighting, outlets, rough plumbing, HVAC routes, and finish selections are confirmed now because they drive permits, lead times, and trade sequencing. We also resolve life‑safety items like egress paths and smoke/CO placement on paper so inspectors won’t ask for changes after framing.
Selections made early keep momentum. Flooring, tile, fixtures, and millwork are specified with allowances clearly stated, and alternates identified if lead times slip. For more on how choices affect pace, see the Basement Renovation Timeline page.
Phase 3 – Permits And Approvals
Permit drawings are prepared and submitted for review. In Toronto, a building permit is required for most construction and major renovations; the City reviews plans for compliance with the Ontario Building Code and zoning before granting permission to build. After permits are issued, work must pass inspections at specific stages, and covered work may need to be reopened if it wasn’t inspected.
Electrical work is handled by a Licensed Electrical Contractor (LEC) who files an ESA notification of work and books inspections. That notification creates a permanent record and leads to an ESA Certificate of Acceptance-documentation you should keep with your final package.
Related reading: Do I Need A Permit To Renovate My Basement.
Phase 4 – Pre‑Construction And Procurement
Before a hammer swings, we finalize access and protection plans, order long‑lead items, and publish a milestone schedule. This is where the calendar becomes real. Trades, inspections, and deliveries are sequenced to protect the critical path, and float is inserted where inspections may add a day or two.
A clear pre‑construction plan also keeps your home livable during the build. Dust control, material staging, and safe egress are planned so the work zone stays contained and predictable.
Phase 5 – Build: Structure And Rough‑Ins
Demolition and framing come first, followed by rough plumbing, electrical, and HVAC. Inspections are booked as each system reaches the “ready” state, with stamped permit plans available on site and the work fully visible. In Toronto, if elements are covered before they pass, they must be reopened for inspection-which costs time and money.
If you’re adding or enlarging openings for bedrooms, coordinate structural and thermal details with Egress Requirements For Basements to avoid rework.
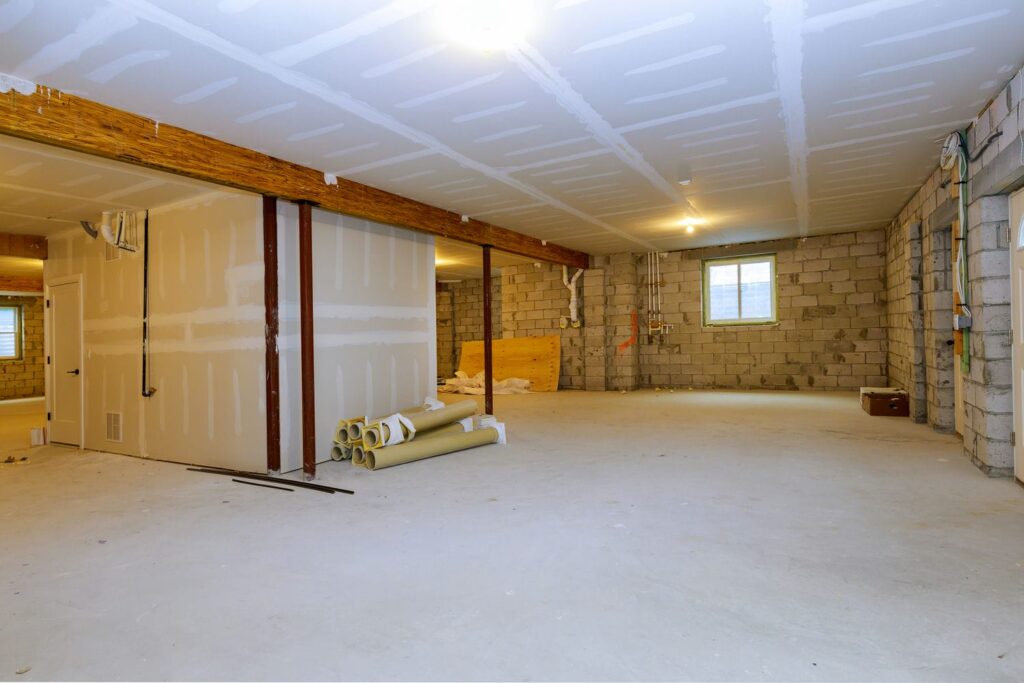
Phase 6 – Insulation, Drywall, And Finishes
Insulation is inspected before drywall so the assembly is visible and matches the submitted plans. After approval, we hang, tape, and finish drywall. Flooring, trim, doors, paint, and fixtures follow in a tight sequence. Early selections keep this stage smooth because we’re not waiting on decisions or deliveries.
Quality control happens in layers: we check work at the end of each trade’s visit, correct small items immediately, and protect finished surfaces as new trades enter the space.
Phase 7 – Final Checks And Handover
Close‑out includes final building inspection, ESA acceptance, and a walkthrough to note and resolve any small deficiencies. We provide a simple package-permits, inspection confirmations, manuals-so you have a clean record of what was installed and approved. Toronto offers an Inspection Status Report if you need a formal summary of passed and outstanding stages for your file.
Typical Timeline At A Glance (GTA Projects)
Durations flex with design speed, permit queue, and inspection cadence. Labour capacity matters, but approvals and inspections often set the pace. Treat holds as milestones on your calendar rather than afterthoughts, and build a little float around inspection days to keep momentum.
| Phase | Typical Duration | What Can Shift |
| Discovery & Design | 1–2 weeks | Speed of decisions; layout complexity |
| Permits & Approvals | 1–4 weeks | Municipal queue; drawing revisions; scope triggers |
| Build To Final | 3–8 weeks | Inspections, long-lead items, add-ons |
Permits, Inspections, And Code Checkpoints You Can’t Skip
Permits protect safety and resale. Inspections confirm the work matches approved plans. When scheduled properly, they keep the job moving; when ignored, they cause delays and expensive rework. Here’s what to know before you start.
When A Permit Is Required
The City lists common triggers: basement bedrooms, structural changes, new entrances, plumbing changes, significant electrical work, and more. If your scope alters structure or life‑safety systems, assume a permit and confirm early. Toronto’s guidance explains the requirement and plan review process for most construction and major renovations.
Mandatory Building Inspections
Small‑building projects typically require framing, insulation, and final inspections. You must notify the City when the project is ready, keep stamped plans on site, and make sure the entire element is visible. Anything covered early must be uncovered for inspection. In Toronto, you can request inspections starting from the next business day, and you can schedule up to four weeks ahead.
Electrical (ESA) And Safety Devices
In Ontario, most electrical work requires a notification of work with the Electrical Safety Authority, and inspections are booked as needed. Your Licensed Electrical Contractor should file the notification and provide the ESA Certificate of Acceptance at completion. Keep that certificate with your records-it matters for insurance and resale.
Cost Drivers That Affect Time And Money
Budget and calendar hinge on structure, services, and finishes. If headroom is tight, decisions about rerouting ducts or underpinning affect framing complexity and inspection timing. If you’re adding egress windows, coordinate structural, waterproofing, and thermal details early to prevent changes after framing. Finish level also moves the needle; custom millwork or complex tile patterns extend the schedule.
No matter the scope, clarity wins. A detailed estimate with allowances, exclusions, and unit rates lets you normalize quotes and reduces surprise extras. For broader context on ranges, see Basement Renovation Cost.
Structure And Headroom
Beams, bulkheads, and low mechanical runs shape the plan. Headroom solutions can be as simple as compacting services or as involved as underpinning. Either way, decide in design-not on demo day-so inspections and trades sequence cleanly.
Egress And Natural Light
Bedrooms require code‑compliant egress. Enlarged windows or a walkout change framing, insulation, and waterproofing details. Integrate those choices with the permit drawings to avoid rework after inspectors review framing.
Moisture, Insulation, And Sound
Below‑grade assemblies must manage water, temperature, and acoustics together. Foam‑first insulation strategies control condensation; mineral wool in stud cavities adds comfort and sound control. If a media room or suite is part of the plan, set expectations now so the assemblies and timeline reflect that goal.
Risks We Prevent Early
Most overruns trace back to late decisions, paperwork delays, or inspections booked at the last minute. We front‑load design and approvals, sequence trades around inspection windows, and maintain a living schedule so everyone knows the next milestone.
Unclear Scope And Late Selections
Vague allowances become extras. We finalize layout and selections before rough‑ins so trades can work once. It’s faster and usually cheaper than revisiting completed stages.
Permits Filed Late
Delays ripple through the entire calendar. Submit early and budget time for comments or minor revisions. Toronto’s review and inspection pages outline expectations and help you plan realistic holds. City of Toronto
Poor Inspection Sequencing
Inspections run the schedule. We book them as milestones, with float for corrections, and keep stamped plans on site to minimize repeat visits. If requested, homeowners can purchase an Inspection Status Report to verify passed stages.
Pre‑Start Checklist (Print This)
A little prep removes a lot of friction. Before demo, confirm the final layout and outlet locations, approve fixtures and finishes, submit permits, and put inspection holds on your calendar. Plan access, dust control, and material staging. Finally, make sure your payment schedule and change‑order rules are in writing, so decisions don’t stall crews mid‑task.
- Final layout, outlets, and lighting approved
- Fixtures and finishes selected and ordered
- Permit submitted; inspection holds added to calendar
- Access, dust protection, and storage planned
- Payment schedule and change‑order rules documented
FAQs
Most projects run 5–14 weeks end‑to‑end depending on design speed, permit queue, and inspection cadence. Use our timeline table as a baseline, then factor in egress or custom finishes for more accuracy. For examples, see the Basement Renovation Timeline post.
If you’re adding bedrooms, altering structure, changing plumbing, or doing significant electrical work, assume a permit. Toronto’s resources outline common triggers and confirm that plans are reviewed before work begins.
Framing, insulation, and final are typical for small buildings. Inspections must see the entire element and stamped plans must be on site. Covered work may need to be reopened. Bookings can start as early as the next business day.
Your Licensed Electrical Contractor files a notification of work with ESA, books inspections, and provides a Certificate of Acceptance at close‑out. Keep that certificate with your records.
Structure/headroom, egress and natural light, and finish level. Decide those in design to keep the schedule predictable. For context on ranges, see Basement Renovation Cost.
Often, yes-with clear dust control and safe access. Expect short periods of higher disruption during demo and drywall. A good schedule and site rules keep day‑to‑day life manageable.
Why Homeowners Choose Yorkland Homes
We design first, then build. Pre‑permit design resolves code items on paper; the build follows a detailed schedule with inspection milestones you can track. Our transparent pricing contract model and meticulously planned build schedule keep decisions, inspections, and trades aligned. Family‑owned since 2010 with Limited Liability Insurance, we deliver finished basements that feel right and pass inspections the first time.
Follow the seven phases, make decisions early, and add inspection holds to your calendar. If you want a clean, code‑ready plan and a predictable schedule, book a quick consult through our Basement Renovation Services and we’ll map your path from design to final inspection.
Check out more posts below...

What Newmarket Requires To Register A Basement Suite

Basement HVAC Basics: Return Air, Zoning, And Year-Round Comfort
Behind The Walls Of A Newmarket Basement Renovation

Asbestos And Lead In Older Basements: What To Check Before You Renovate
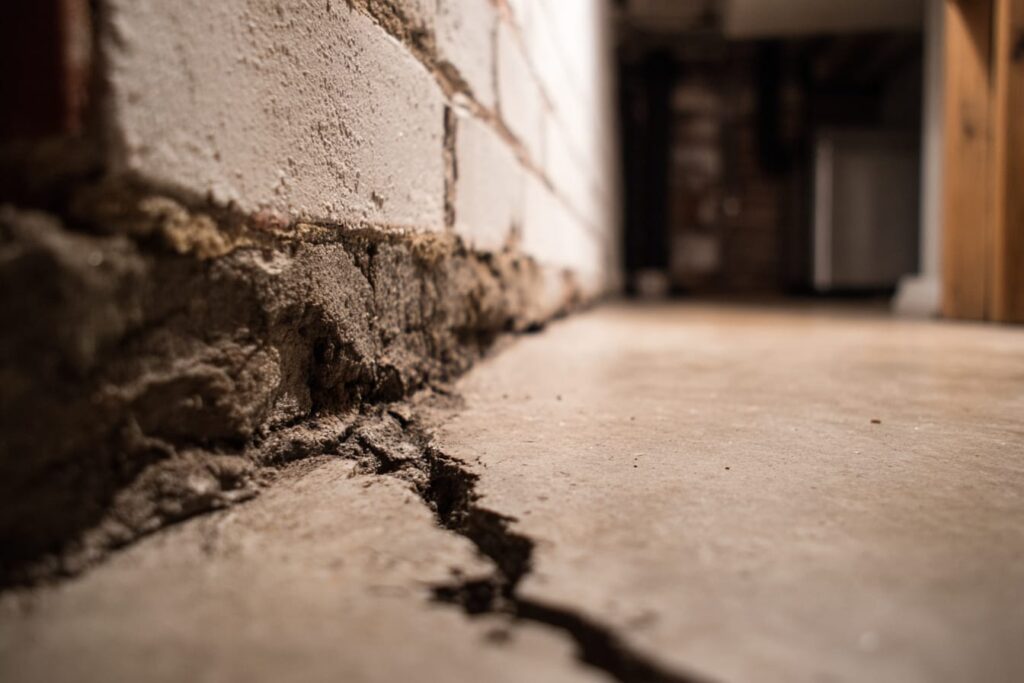
Foundation Cracks And Basement Finishing: What’s Normal And What’s Not