Vapour Barrier Done Right: Avoid Trapped Moisture In Finished Basements

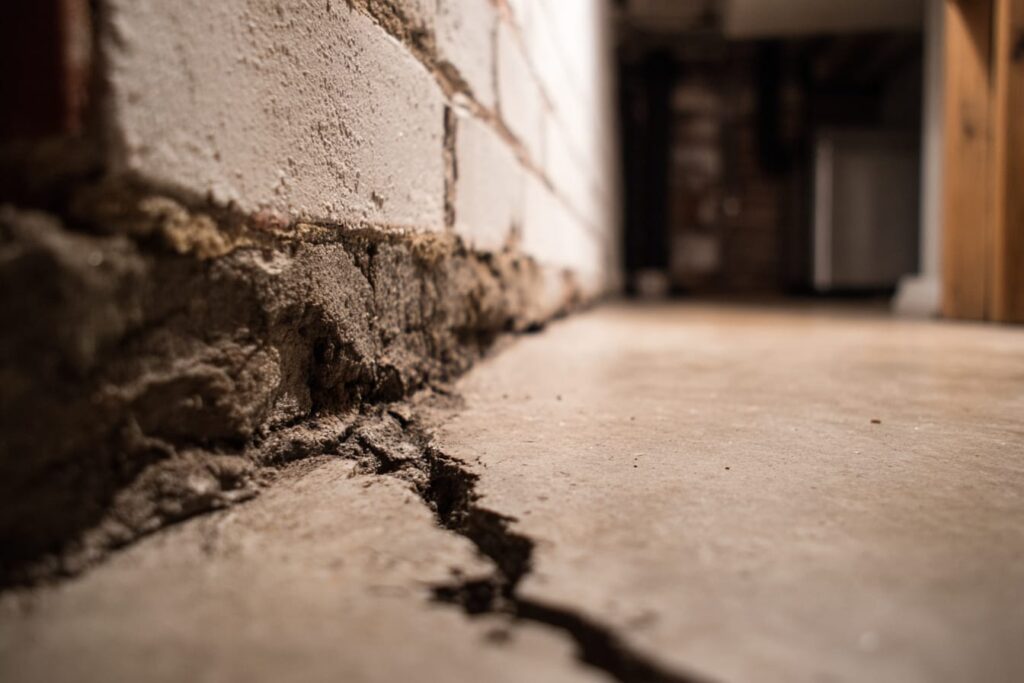
Basement walls fail when warm indoor air hits cold concrete and condenses inside the assembly. A proper basement vapour barrier keeps that moisture under control; a bad one traps it where you can’t see it. In simple terms, you need the right material, in the right spot, paired with the right insulation strategy. If you would rather have a team own that design for you, you can see how we handle vapour control, insulation, and inspections in our basement renovation services.
Basements are not just “rooms below the main floor.” They are concrete boxes sitting in damp soil, with temperatures and humidity that swing differently from the rest of the house. If you treat them like upstairs walls and just staple poly everywhere, you risk hidden mould, musty odours, and drywall you have to rip out later. This guide walks through what a vapour barrier actually does, when you need it, the mistakes to avoid, and how it ties into the rest of your basement assembly.
What A Basement Vapour Barrier Actually Does (And Why Basements Are Different)
A vapour barrier is a low‑permeance layer placed on the warm side of a wall to slow the movement of water vapour from indoor air into colder materials. In winter, that vapour wants to move outward toward the concrete. If it condenses inside the wall, you get damp insulation, rusty fasteners, and soft drywall. A good vapour strategy slows that movement enough that moisture does not build up faster than it can dry.
Basements are trickier because the concrete is colder, for longer, than above‑grade walls. Soil stays damp. Older homes often have thin blanket insulation wrapped in poly and stapled to the foundation, which looked tidy when new, but does not play well with modern finished basements. The goal is not “plastic everywhere.” The goal is controlled vapour movement plus a safe drying direction.
Vapour Barrier Vs. Air Barrier Vs. Water Barrier
Homeowners often use “vapour barrier” to mean any plastic sheet, but the roles are different. A vapour barrier slows vapour diffusion. An air barrier stops air movement through the assembly. A water barrier blocks liquid water from leaks or bulk water entry. Sometimes one product does more than one job; closed‑cell spray foam, for example, can act as insulation, air barrier, and vapour barrier when installed at the right thickness.
In a basement, you usually need all three ideas covered, but not always as separate sheets. Poly sheeting is a vapour barrier only; it does not block all air leaks if it is full of holes, and it does nothing against water coming through cracks. Good design picks the right material for each job and makes sure they work together instead of fighting each other.
Why Basement Walls Behave Differently Than Above‑Grade Walls
Above‑grade walls see outdoor air on one side and indoor air on the other. They dry more easily to the exterior. Basements, by contrast, have cold concrete and damp soil outside. That concrete can hover near ground temperature for much of the year. When warm indoor air sneaks into the wall, it can cool below dew point and leave moisture inside the assembly.
Basements also see seasonal humidity swings, minor seepage, and often decades of piecemeal fixes. That is why details that might “sort of work” upstairs can fail badly below grade. If vapour control is wrong, the wall may look fine for a year or two but quietly rot from the inside out.
When You Actually Need A Vapour Barrier In A Basement Wall

Here is the straight answer: if you are using air‑permeable insulation like fibreglass or mineral wool in a standard stud wall, you almost always need some form of vapour barrier or vapour retarder on the warm side. If you are using continuous foam or closed‑cell spray foam of sufficient thickness, that foam often acts as the vapour control layer, and adding interior poly can do more harm than good.
The decision cannot be made in a vacuum. Vapour strategy must align with the overall insulation approach, subfloor plan, and how the space will be used. For a deeper look at how insulation and vapour work together in basements, see The Importance Of Insulation In Basement Renovations.
Assemblies That Need Poly on the Warm Side
If your wall is bare concrete + stud wall + fibreglass or mineral wool batts, you normally need a vapour barrier or a smart vapour retarder on the interior side. That layer belongs on the warm side of the insulation, over the studs and batts, not against the concrete. Installed correctly, it slows vapour enough that batts stay dry and the wall can still dry slightly to the inside if needed.
Another example is when you remove old blanket insulation and rebuild with conventional stud walls. In that case, you might choose poly or a variable‑perm membrane as your vapour control. The important part is consistency across the wall, sealed seams, and continuity at rim joists and openings.
Assemblies That Don’t Use Interior Poly at All
Some basement assemblies are designed so that the foam itself is the vapour barrier. A common example is concrete + 2″ closed‑cell spray foam + stud wall. At the right thickness, closed‑cell foam is low‑perm enough that additional interior poly is not only unnecessary, it can be risky. The same applies to concrete + rigid foam (XPS/EPS) with taped seams + stud wall and drywall. In those cases, the foam layer is the primary vapour control.
Adding poly on the warm side of these foam‑first assemblies can create a double vapour barrier, trapping moisture between layers. That is exactly what we want to avoid. For more context on foam‑first strategies, see Insulating Your Basement The Right Way: Materials, R‑Values, And Mistakes to Avoid.
Common Vapour Barrier Mistakes That Trap Moisture
Most basement vapour problems fall into three buckets: too many barriers, barriers in the wrong place, or barriers full of holes. Each is avoidable with a bit of planning, and a clear picture of how the assembly should dry.
Double Vapour Barriers in One Assembly
The classic error is layering two low‑perm materials in one wall. Examples include poly against concrete plus poly on the warm side, or thick closed‑cell foam plus added interior poly. Any moisture that finds its way into the cavity—through a leak, a small tear, or damp materials during construction—has nowhere to go. It stays trapped, and over time you see mould, odour, and decay.
Good walls typically rely on one primary vapour barrier, with the rest of the assembly designed to let moisture slowly dry in one direction. When in doubt, simplify the stack rather than adding another sheet of plastic.
Poly Directly Against Cold Concrete
Many older basements have thin blanket insulation wrapped in poly and fastened directly to the foundation. It looked neat when installed, but it often puts plastic right against cold concrete. The result is a condensing surface behind the poly where you cannot see it. When you finish over that with studs and drywall, you create a dark, damp cavity that is hard to monitor.
That is why many modern basement renovations start by removing the blanket insulation and poly, then rebuilding the wall with a foam‑first approach or a properly detailed stud‑and‑batts assembly.
Gaps, Tears, And Unsealed Edges
Even a smart design fails if the vapour layer is shredded. Common trouble spots include around electrical boxes, plumbing penetrations, the rim joist, and the joint between wall and slab. If the poly is loose, torn, or unsealed at edges, moist air can bypass it and condense where you least want it.
High‑impact details are simple but often skipped: tape or acoustic sealant at seams, continuous beads at top and bottom plates, and careful integration at windows and rim joists. Inspectors often look at these areas during the insulation and vapour barrier inspection stage, because they reveal how carefully the rest of the assembly is likely built.
Code And Inspection Context in the GTA
You do not need to memorize the Ontario Building Code, but you should know that vapour barriers are part of the building envelope requirements. At a high level, code expects a suitable vapour barrier or vapour retarder on the warm side of insulated walls and ceilings to protect materials from condensation.
In Toronto, insulation and vapour barrier are inspected together on permitted projects. The City’s Homeowner’s Guide To Building Permits lists “Insulation and vapour barrier at completion and prior to drywall” as a standard inspection step. That means the inspector expects to see the wall open, with the insulation and vapour barrier visible and continuous before any board goes up.
Insulation And Vapour Barrier Inspection Before Drywall
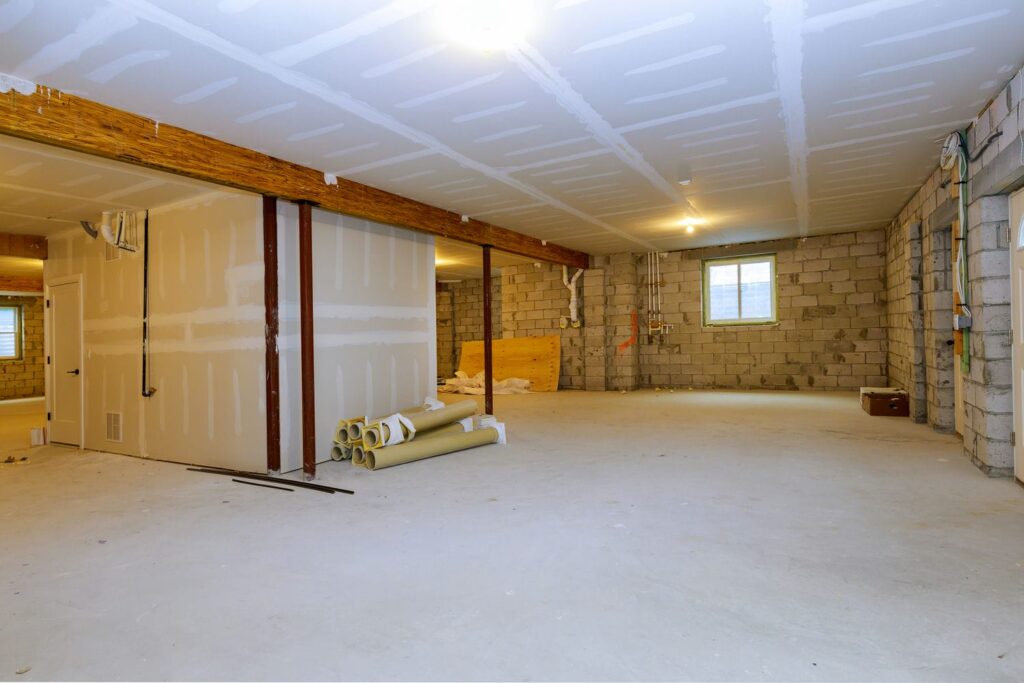
On a permitted basement renovation, the rough‑in and framing inspections come first. Once those pass and insulation plus vapour barrier are installed, you call for the insulation and vapour barrier inspection. The inspector will check that the vapour layer is on the warm side, reasonably continuous, and not obviously doubled up where it should not be.
The work must be visible. If walls are drywalled too early, you may be asked to open them up again so the inspector can see the assemblies. This is one reason we build schedules around inspection milestones and avoid rushing to close walls just to feel “finished” for a weekend.
How Vapour Barrier Ties into Insulation, Subfloors, And Air Quality
Vapour barrier is one piece of a larger package. If you focus on plastic alone but ignore insulation type, slab moisture, and humidity control, you are treating symptoms instead of the system. Think of the whole room: walls, floor, ceiling, and air.
A well‑designed basement assembly starts with the insulation plan, then adds vapour control and drying paths appropriate to that plan. The floor system must also handle moisture from the slab. Finally, the space needs reasonable humidity and fresh air so materials can perform. For deeper guidance on the air side, see Managing Humidity And Air Quality In Basements.
Pairing Vapour Control with the Right Insulation
Some pairings are tried and true. Fibreglass or mineral wool batts in a stud wall usually want an interior vapour barrier or smart vapour retarder. Foam‑first strategies—rigid foam or closed‑cell spray foam against concrete—often rely on the foam as the vapour control layer and skip interior poly. Smart membranes offer a middle ground when you need extra forgiveness.
The sequence should always be insulation first, vapour control second, not the other way around.
Subfloors, Slab Moisture, And Floor Finishes
Walls are only half the story. Moisture can also rise from the slab and affect flooring. Subfloor systems, membranes, and foam underlayments help manage this. If you are planning luxury vinyl plank, laminate, or engineered wood, the subfloor design needs as much attention as the walls.
Choosing the right subfloor can keep floors warmer and help finishes last longer. If you want to see how different systems behave and when each makes sense, read Basement Subfloor Systems That Keep Floors Warm And Dry.
Humidity Control And Drying Direction
Even the best vapour strategy cannot protect a basement if indoor humidity is always high. In summer, moist air can condense on cool surfaces; in winter, it can drive vapour into walls faster than they can handle. A simple dehumidifier, reasonable setpoints, and good ventilation go a long way.
Every assembly should also have a drying direction—ideally toward a space where moisture can safely dissipate. The mistake is blocking both sides with low‑perm materials so water has nowhere to go.
At‑A‑Glance: Basement Wall Assemblies And Vapour Strategies
Use this quick chart to sense‑check your plan before you commit. If your current or proposed assembly looks like one of the high‑risk rows, it is worth revisiting.
| Assembly Type | Recommended Vapour Strategy | Moisture Risk Level |
| Concrete + 2×4 Studs + Fibreglass/ Mineral Wool Batts | Interior poly or smart vapour retarder over studs and insulation; no poly against concrete | Medium if detailed well; high if gaps or poor air‑sealing |
| Concrete + 2″ Closed‑Cell Spray Foam + Stud Wall | Foam provides vapour control; no additional interior poly; optional drywall directly on studs | Low, provided thickness and continuity are correct |
| Concrete + Rigid Foam (XPS/EPS) With Taped Seams + Stud Wall | Foam is main vapour control; avoid adding interior poly; consider smart retarder if needed | Low to medium, depending on foam thickness and tape quality |
| Concrete + Blanket Insulation Wrapped In Poly | Typically remove and rebuild; blanket/ poly combo places plastic against concrete and invites condensation | High; common source of hidden mould and odour |
| Concrete + Stud Wall + Batts + Interior Poly + Exterior Foam | Double vapour barriers likely; reconsider assembly to keep only one main low‑perm layer | High if moisture enters the cavity and cannot dry |
Step‑By‑Step: Checking If Your Basement Vapour Barrier Is A Problem
You do not need to tear every wall open to get a sense of risk. A simple check can tell you whether your current vapour approach deserves a closer look.
First, identify your assembly. In an unfinished or partly finished area, look behind a mechanical room wall or cold storage. Do you see blanket insulation on the foundation? A conventional stud wall? Foam boards? This tells you what baseline you are working with.
Next, find the poly. Is there plastic against the concrete, over the studs, or both? If you see poly on both the concrete side and the room side of the wall, that is a red flag for double vapour barriers. Then, look for signs of moisture: dark staining, musty smell, rusty nails, or drywall that feels soft near the base.
If you suspect trouble, consider opening a small test area in a discrete spot to inspect the cavity. That is better than discovering a major problem after you invest in new finishes. And if you are planning a full renovation anyway, it is often smarter to remove questionable assemblies and rebuild with a modern, foam‑first or properly detailed stud wall system that passes inspection cleanly.
Why Homeowners Choose Yorkland Homes
We start by designing the wall assembly, not by guessing on site. Our team looks at insulation, vapour control, drying direction, and inspection requirements as one package before we frame. That means fewer surprises later and assemblies that are easier to approve and maintain.
We pair that design work with a transparent pricing contract model and a detailed build schedule you can actually follow. Decisions, inspections, and trade visits are mapped in advance, so you know what is happening each week. As a family‑owned company since 2010 with Limited Liability Insurance, we stay accountable for both the technical details and the experience of living through the project.
Basement Vapour Barriers Done Right: Build a Dry, Comfortable Space That Lasts
Vapour barrier is not about stapling plastic and hoping for the best. It is about choosing the right assembly, placing the vapour control in the right spot, and giving your walls a safe way to dry so the space stays comfortable for years.
If you would like help turning that into a concrete plan, we can design and build your basement from wall assembly through finishes. Our team plans the details, coordinates inspections, and keeps you in the loop with a clear contract and schedule. To see how we work and what is included, start with our basement renovation services page.
Check out more posts below...
Why Older Newmarket Basements Often Need Underpinning

What Newmarket Requires To Register A Basement Suite

Basement HVAC Basics: Return Air, Zoning, And Year-Round Comfort
Behind The Walls Of A Newmarket Basement Renovation
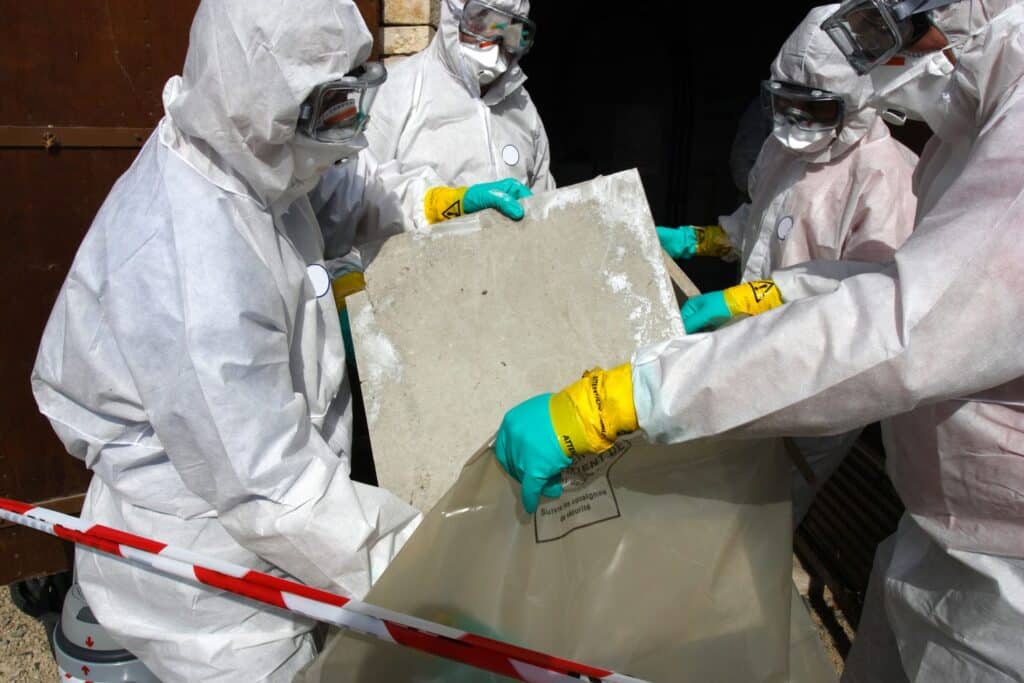
Asbestos And Lead In Older Basements: What To Check Before You Renovate